How to Sit on the Toilet After Knee Surgery: A Practical Guide for Recovery
Toilet Height Calculator for Knee Surgery Recovery
Calculate Your Ideal Toilet Height
Recommended Height
19-21 inches
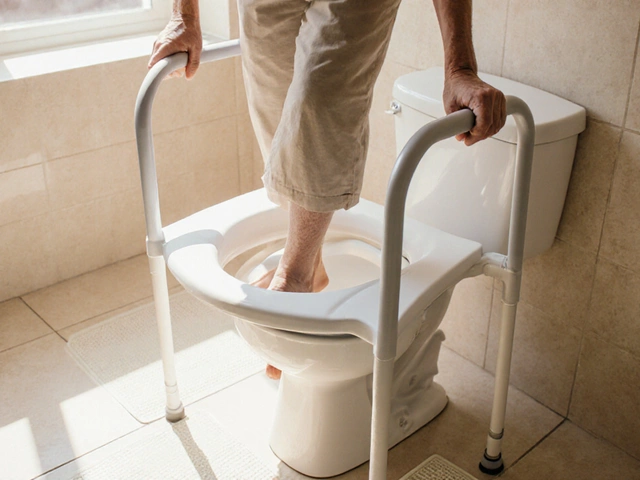
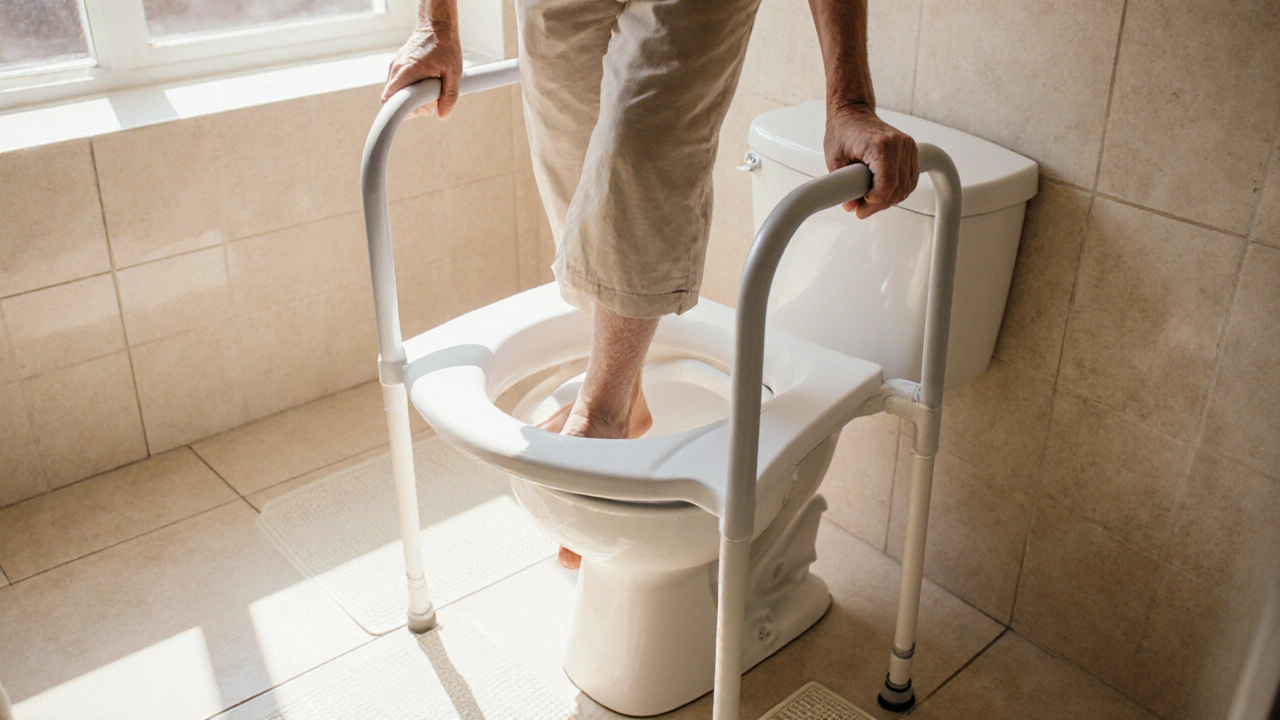
After knee replacement surgery, one of the most unexpected challenges isn’t walking or climbing stairs-it’s sitting on the toilet. It sounds simple, but when your knee is stiff, swollen, and weak, bending it past 90 degrees can feel impossible. You might find yourself hovering over the seat, gripping the sink for balance, or worse-stuck. This isn’t just uncomfortable; it’s risky. Falling in the bathroom is one of the top reasons for readmission after knee surgery. The good news? With the right setup and technique, sitting down and standing up becomes safe and manageable within days.
Why the Toilet Is a Problem After Knee Surgery
Your new knee joint has limited range of motion in the first few weeks. Most people can’t bend their knee past 90 degrees for the first 10 to 14 days after surgery. A standard toilet seat is about 15 to 17 inches high, which forces your knee into a deep bend just to lower yourself. That’s like trying to squat with a brick tied to your shin. Plus, you’re balancing on one leg while the other is weak and unstable. Add in pain, swelling, and muscle weakness, and you’ve got a recipe for a fall.
Studies from the Journal of Orthopaedic Surgery show that nearly 40% of knee replacement patients report at least one fall in the first month after surgery, and nearly half of those happen in the bathroom. The toilet is the most common hazard-not because it’s slippery, but because it demands a movement your body isn’t ready for yet.
Step 1: Raise the Toilet Seat
The single most effective thing you can do is increase the height of your toilet. You don’t need fancy equipment-a simple toilet riser or elevated seat can make all the difference.
- Use a toilet riser that adds 2 to 4 inches of height. These clip onto the existing seat and are easy to install.
- Look for models with armrests. They give you something solid to push off of when standing up.
- If you don’t want to buy anything, a sturdy wooden block or a thick, non-slip mat placed under the toilet base can work temporarily.
- Aim for a total seat height of at least 19 to 21 inches. That’s about the height of a standard chair, which is much easier to sit into.
One patient I spoke with in London, 68-year-old Margaret, used a $25 plastic riser with handles. She said, “I went from needing help to doing it alone in three days. It felt like someone gave me my independence back.”
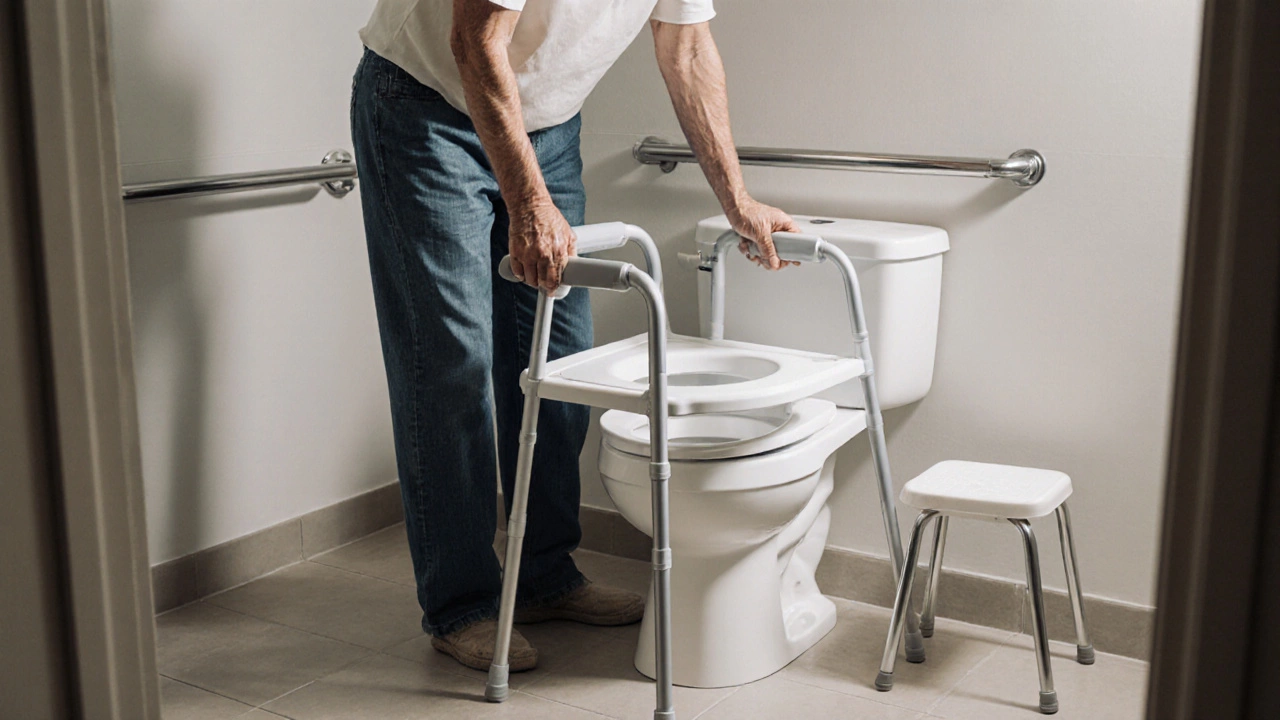
Step 2: Use a Raised Toilet Seat with Armrests
Not all risers are created equal. The best option combines height with support. A raised toilet seat with built-in armrests gives you two critical advantages:
- Armrests let you push up with your arms instead of relying on your knee.
- They help you control your descent, so you don’t drop suddenly.
Look for models made of durable plastic with rubberized feet to prevent slipping. Avoid soft foam seats-they compress too much and don’t give you the stability you need. Brands like Medline, Drive Medical, and Vive Health offer reliable options widely available in UK pharmacies and online.
Step 3: Learn the Right Way to Sit Down
How you lower yourself matters just as much as how high the seat is. Here’s the correct sequence:
- Back up until you feel the toilet seat behind your legs.
- Reach back with both hands and grip the armrests or the side of the toilet.
- Slowly lower yourself by bending your good knee, not your operated one.
- Keep your operated leg straight out in front of you to avoid bending it past your limit.
- Once seated, adjust your position using your arms and your good leg.
Don’t try to “plop” down. That sudden impact can jar your new joint. Take your time. It’s not a race. If you’re using a walker or crutches, place them to the side before you sit so they don’t get trapped under you.
Step 4: Master the Stand-Up Technique
Standing up is often harder than sitting down. Your knee is weakest at the start of the movement, and your body’s weight is pulling you backward.
- Move your body forward until your knees are under your hips.
- Place both feet flat on the floor, with your operated foot slightly forward.
- Lean forward at the hips, keeping your back straight.
- Push up through your arms using the armrests, not your knee.
- Once you’re standing, pause for a second to steady yourself before grabbing your walker or cane.
Many people try to push up using their operated leg too soon. That’s a mistake. Your leg isn’t strong enough yet. Let your arms and your good leg do the work. Your surgeon or physiotherapist should have shown you this motion during rehab-but if they didn’t, this is the method to use.
Step 5: Prepare the Bathroom Before Surgery
Don’t wait until you’re home from the hospital to figure this out. Set up your bathroom before your surgery date.
- Install the riser and armrests at least 3 days before your procedure.
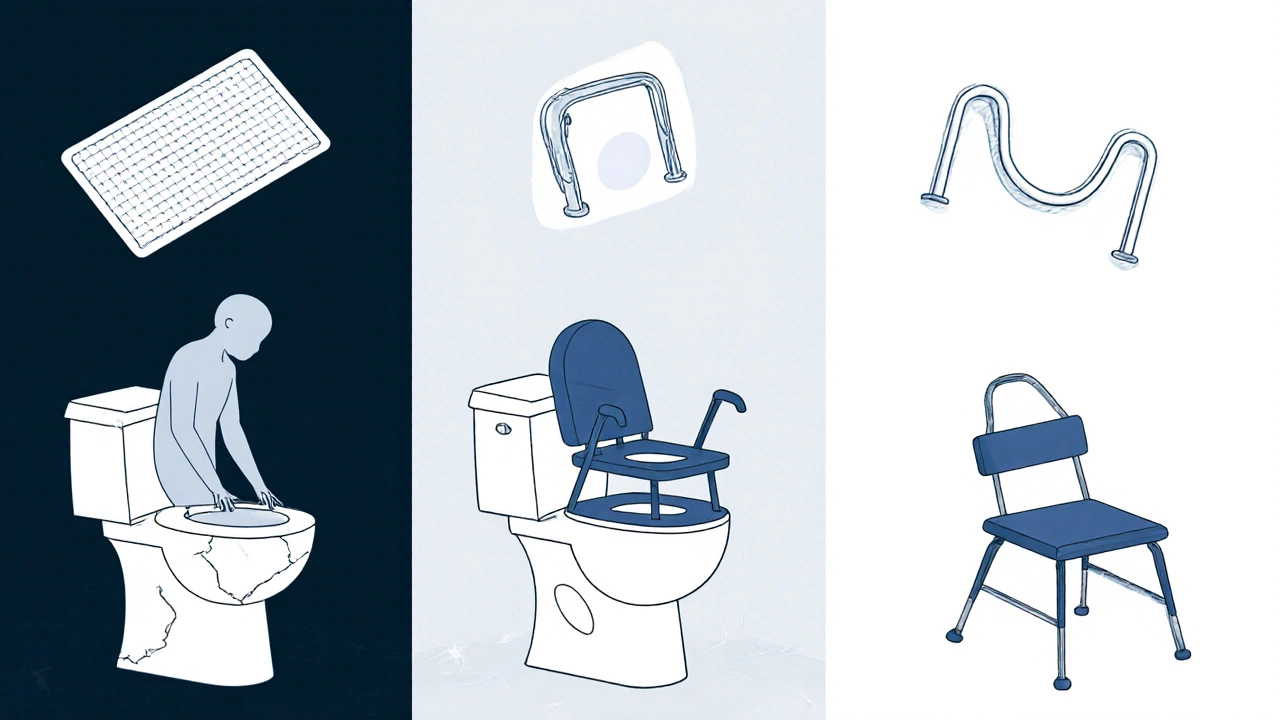
- Remove any rugs or mats that could cause slipping.
- Put a non-slip mat inside and outside the tub or shower.
- Keep a grab bar installed near the toilet if you don’t already have one.
- Place a small stool next to the toilet so you can rest your operated leg while using the toilet.
One of the biggest mistakes patients make is thinking they’ll “figure it out” after surgery. Recovery doesn’t wait. Your bathroom needs to be ready before you walk out of the hospital.
What Not to Do
Here are common errors that lead to injury:
- Don’t sit on the edge of the seat-your knee will bend too far.
- Don’t use a regular toilet without support-you’ll end up falling backward.
- Don’t try to squat or kneel to clean yourself.
- Don’t rush. Even if you feel okay, your joint is still healing.
- Don’t skip using your walker or cane. Your balance is still off.
One patient in Manchester tried to use a regular toilet without a riser because he didn’t want to “look like an old man.” He fell, fractured his hip, and needed another surgery. That’s the kind of risk you don’t take.
When Can You Go Back to a Normal Toilet?
Most people can return to a standard toilet between 4 and 6 weeks after surgery, but it depends on your progress. Your physiotherapist will test your knee flexion during rehab. If you can bend your knee to 105-110 degrees without pain, you’re likely ready. But don’t guess-ask your therapist before making the switch.
Some people never go back to a standard toilet. That’s okay. Many older adults keep elevated seats for life. It’s not a sign of weakness-it’s smart adaptation.
Extra Tips for Daily Life
- Use a long-handled reacher to pick up items from the floor so you don’t have to bend.
- Keep a small step stool near the toilet to rest your operated leg while sitting.
- Use a commode chair if the bathroom is far from your bedroom-many patients use one in their bedroom for the first week.
- Wear slip-on shoes with good grip. No socks on hardwood floors.
- Install nightlights so you can see the path to the toilet at night.
One simple trick: Keep a bottle of water and a phone on the bathroom counter. That way, you don’t have to get up again right after using the toilet.
What to Do If You Fall
If you do fall, don’t panic. Most falls aren’t serious if you’re prepared.
- Stay calm. Don’t try to jump up.
- Check for pain. If your knee or hip hurts badly, don’t move. Call for help.
- If you’re not hurt, roll onto your side, then onto your hands and knees.
- Use your arms and your good leg to push up slowly.
- Once standing, sit down and rest. Then call your surgeon’s office to report it.
Always keep your phone or emergency button within reach in the bathroom. Falls are common-but preventable.
Final Thought: It’s Temporary
It’s frustrating. It’s inconvenient. It feels like you’ve lost control of your body. But remember: this is not your new normal. This is just a phase. Within weeks, your knee will bend more, your muscles will get stronger, and the toilet will feel normal again. Until then, use the tools, follow the steps, and be patient. You’re not broken-you’re healing.
Can I use a regular toilet after knee replacement surgery?
It’s not recommended in the first 4 to 6 weeks. A standard toilet seat is too low and forces your knee into a deep bend, which can cause pain, swelling, or even damage to your new joint. Use a raised toilet seat with armrests until your surgeon or physiotherapist confirms you’ve regained enough knee flexion.
How high should my toilet seat be after knee surgery?
Aim for a seat height of 19 to 21 inches from the floor. Standard toilets are 15 to 17 inches high, so you’ll need a riser that adds 2 to 4 inches. This height matches a standard chair and reduces strain on your knee when sitting and standing.
Do I need a grab bar if I have a raised toilet seat with armrests?
Yes, it’s still a good idea. Armrests on a raised seat help you sit and stand, but a grab bar mounted on the wall gives you extra stability if you need to shift your weight or reach for something. It’s a backup safety measure, especially when you’re tired or in pain.
How long should I use a raised toilet seat?
Most patients use a raised seat for 4 to 8 weeks. Your physiotherapist will check your knee flexion during follow-up visits. Once you can bend your knee past 105 degrees without pain, you can usually switch back. But if you’re still uncomfortable, there’s no rush-many people keep it long-term.
Can I use a commode chair instead of the toilet?
Absolutely. A bedside commode chair is often easier and safer in the first week. It’s higher, has armrests, and doesn’t require you to walk to the bathroom. Many patients use it until they feel steady on their feet. You can transition to the toilet once your balance and strength improve.